Lighting 101: A Cinematographer's Guide
Lighting a set for TV, film, or any other production is a complicated process. There’s no single correct way to light a given scene, as each cinematographer brings their own unique style and point of view. The lighting of a scene has a huge impact on the overall mood and is important when it comes to communicating with the audience, which makes overseeing lighting one of the most vital roles of a cinematographer.
There are a lot of different terminologies used when talking about set lighting, so we’ll break down all the key terms that you need to know in this article. We’re also going to explain a few important lighting techniques which make up the backbone of your cinematic lighting arsenal.
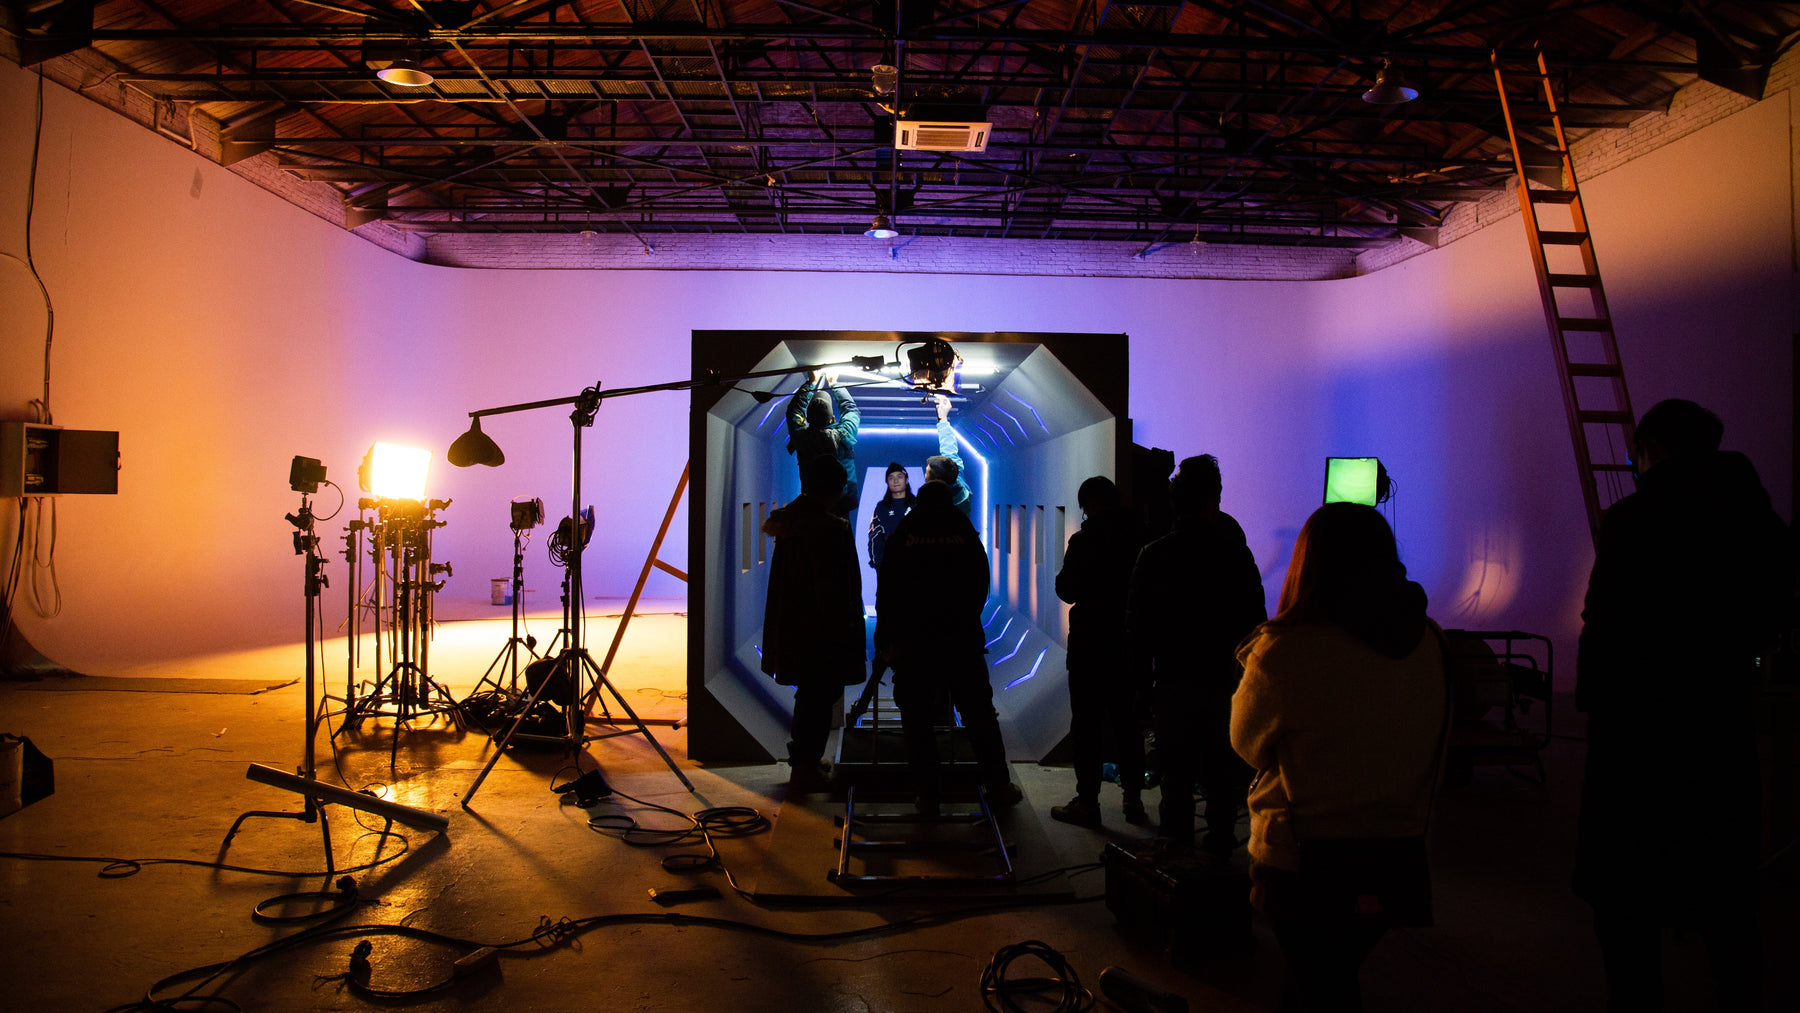
Lighting a movie set isn’t just about ensuring you can see everything that’s going on; it’s used to create depth, enhance the image, and support the atmosphere and themes of the production. As well as controlling the direction and brightness of your chosen lighting, you can also bounce, diffuse, color, and make all sorts of adjustments to the light of any given scene. All in all, lighting is one of the single most important tools used to portray the mood and emotion in a scene.
Why is Lighting so Important in Cinematography?
You might not think straight away that lighting is important to the outcome of a scene, but it’s truly a fundamental element. The way you light a set creates the visual mood, setting the atmosphere and communicating with the audience. Lighting affects every step of the cinematic process and is interconnected with many other elements, so it’s vital to get it right. For example, if you’re working with a green or blue screen, lighting the set correctly makes it possible to key out the background later on.
Cinematographers need to direct the eye of their audience, to make sure they’re focusing on the right things and don’t miss important details. Your lighting setup will guide the eyes of your audience to specific parts of the scene, to ensure the point gets across. Lighting is also a huge factor in reflecting the psychology of characters in a story. You control the color, size, amount, and harshness of the light upon an actor, and can use this to build their character. Villains can be shed in low light, conveying a mystery and seriousness which plain bright light would not. On the other hand, bright and colorful lights can make a certain character come across and friendly and even dream-like. The possibilities are endless, as a successful cinematographer should be able to use light to portray any emotion or mood.
Genre in film relies on lighting heavily, as a cinematographer you have to be able to support and define the genre of your film using your lighting setup. Light is a clear indicator of mood and tone in film and is often the clearest way to express the atmosphere in a scene. Contrast, shadow, color, and angle; there are plenty of elements you can use to get certain emotions across to the audience.

Key Lighting Terms and Techniques You Need to Know
The three primary types of light a cinematographer uses are key light, fill light, and background light. These elements provide the backbone of any lighting setup and are the base that you need to perfect before moving onto cinematic tricks to enhance your setup.
- Key light: This is a bright and direct light, generally the primary light in your scene. It’s used to light your subject or actor, most cinematographers set up this light first and then work the remainder around it. A Bi-Color LED light panel is ideal for use as a key light, as this versatile piece of equipment can light your scene in almost any way you can imagine. The placement of your key light is everything; too close to the camera and your scene will appear flat. Set your key light behind an actor to create a dramatic and serious atmosphere and keep the image dark.
- Fill light: The main purpose of the fill light is to offset dark shadows created by your key. Generally, the fill is less powerful than the key and is placed at an opposite angle, so it will balance out the key without overpowering it. The key to fill ratio is one of the most important values when lighting a scene by ratios, so don’t forget to make use of this technique. The most important thing to remember when setting up your fill light is that it shouldn’t create any shadows of its own; the fill is all about softening the shadows of your key light. If you don’t have a second light to use as fill, you could try placing a reflector to bounce the light of your key.
- Backlight: Backlights are generally placed behind your subject at a high angle. This element is key in creating depth in your image, separating the foreground from the background. One great source of the backlight is the sun; usually too harsh to use as a key light, using the sun as your backlight can create a truly striking image. When creating a silhouette, your backlight is the star of the show.
The key, fill, and backlight are the basis of most lighting setups and create the three-point lighting setup which we’ll explain later on. However, these aren’t the only terms you need to be familiar with in order to be a successful cinematographer; let’s dive deeper into some more useful lighting terminology.
- Practical light: Practical light is arguably the easiest way to light a scene, utilizing light elements such as lamps within the shot itself. Using practical light is actually a great way to combine tungsten and daylight. If your practical light is too bright, you can use a dimmer to soften it, or alternatively just wrap a gel around the bulb.
- Motivated light: While practical light uses sources of illumination which are already naturally in the scene, motivated light aims to replicate and enhance these light sources. For example, you might place a bright light outside the window of your set to imitate daylight hours, when you may actually be filming in the evening or indoors. It’s very important that you set the brightness and color temperature of your motivated lighting carefully, otherwise, the scene won’t look realistic.
- Available light: Available light is the light that already exists on your location, for example, the light of a street, or simply the sun. Using available light can be difficult as cinematographers sadly cannot control the brightness of the sun. This means you’ll need to carefully plan around the weather, the time of day, and other changeable elements.
- Sidelight: A sidelight is simply a light that illuminates your subject from one side, highly effective in creating dramatic scenes, this technique was well used in film noir cinema. This type of light can be used to evoke a mood in the audience, especially when used with a low side to fill ratio.
- High key: High key lighting uses both a bright key and fill light, to create a very light and shadowless image. High key shots have a very low lighting ratio and can come close to overexposure in some instances. However, this technique can be used very effectively to evoke a certain feeling, for example, the cleanliness of a hospital scene, or a dream sequence.
- Low key: The opposite of high key, low key is where most of your scene is in shadow, with little to no fill light. In low key lit scenes, most of the light is shed on the subject or actor, with only a few details visible in the background. Low key lighting generally has a high key to fill or key to back ratio and often uses only one light source.
- Bounce: A bounce light is basically a light that has been reflected, with a tool like a silk or foam board. Light can also bounce from a light-colored wall or ceiling, a reflective surface, almost anything. You can determine the intensity of your bounce by using a tool that is more or less reflective. A bounced light can serve as your key, fill, backlight, or other purposes; it’s a highly versatile tool for cinematographers to use.
- Soft light: Soft light refers mainly to the size of a light source rather than the type. This type of light usually emanates from a large source or a light with diffusion gels. A scene lit using soft light will have very soft shadows or no shadows at all.
- Hard light: On the other hand, hard light produces strong and harsh shadows, and originates from either bright midday light or a small concentrated light source. Often, cinematographers work to remove hard light from a shot, using fill or bounce to make the lighting less harsh.

Using What You’ve Learned in a Basic Three-Point Lighting Setup
A three-Point lighting setup is a basic tool for cinematographers, one which can be used as a starting point to build around. Lighting from three directions will clearly define your actor or subject, separating them from the background and creating depth in the image. In most cases, one light each is used for the back, front, and side of the subject; the key, fill, and backlight.
Use a key to light your subject from the front, usually off to one side. This is the primary light source and should clearly illuminate the most important parts of the image. Secondly, a fill light should be positioned at an opposite angle to the key, to soften shadows and provide secondary illumination. Fill lights should be bright enough to show detail, while still being darker than the key. Finally, set your backlight at a high angle facing roughly towards the camera. This will help define your subject from the background, so your scene is now lit from three angles.
This basic lighting setup is a great starting point when setting out to light a film scene. Then, you can use the other tools and techniques we’ve mentioned to elevate your lighting style and convey all the emotion you need, and successfully light your set.

Leave a comment