How to Mix Tungsten and Daylight
Mixing different light sources can be a challenging task, whether it’s LED’s, tungsten, daylight or flash. In most cases, cinematographers will choose their primary light source and balance the other to match. However, it isn’t a simple process if you want to produce a satisfactory image, as mixing tungsten and daylight can easily go wrong. From setting the white balance on your camera to color grading post-production, using a combination of these two light sources has a lot of steps to get to the right result. It doesn’t matter if you’re preparing a studio photoshoot, or setting up an outdoor dolly shot, mixing and balancing different courses of light is vital.
The main issue with using both tungsten and daylight in your shoot is the difference between the colors. Daylight has a blue tone, whereas tungsten offers warm orange light. When done incorrectly, using these two together can result in strange-looking colors in your finished image. Rather than aiming for a neutral white balanced light, eliminating the colors which your light sources emit, we’re going to teach you how to use these two great elements together, to achieve a perfectly lit image.
What is Tungsten Light?
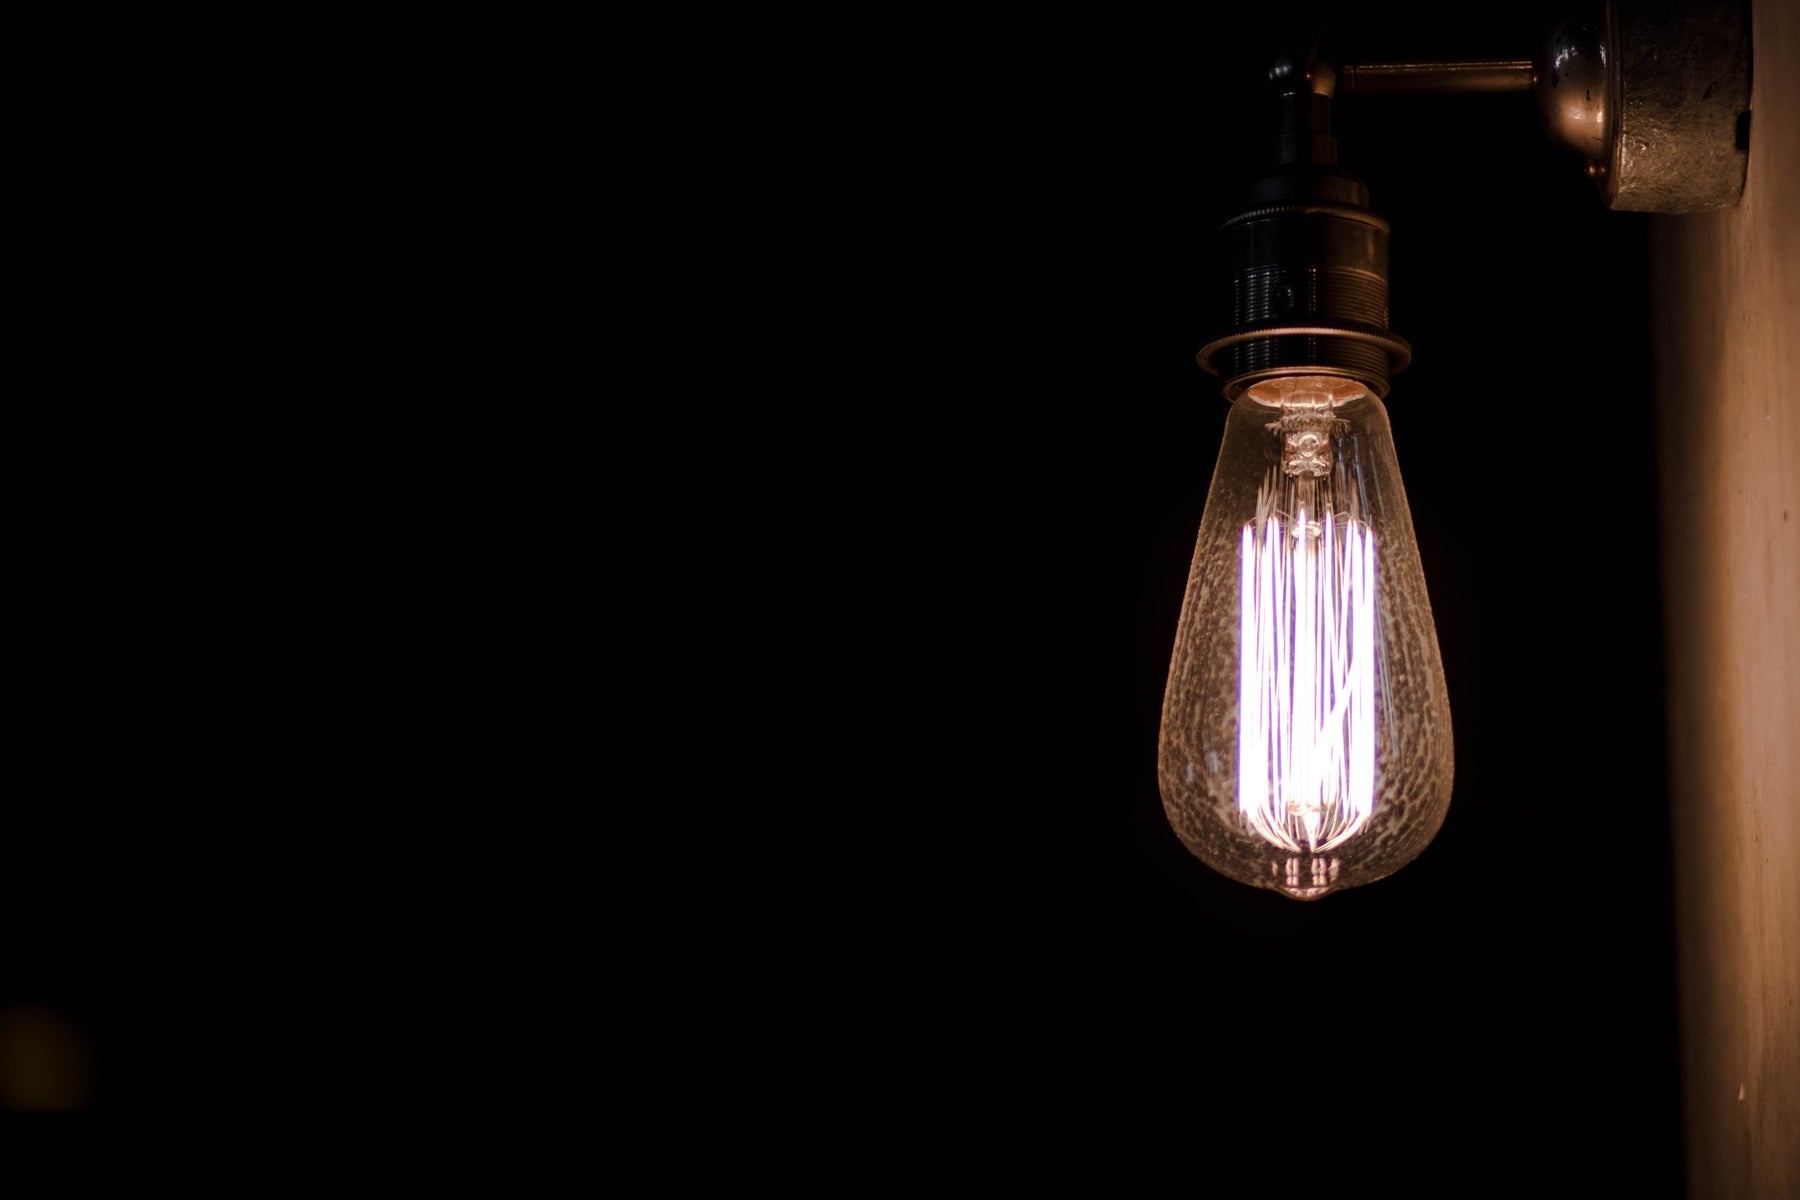
Tungsten was, for a long time, the most common sort of indoor artificial lighting. Nowadays, cheaper and more economical LED lights are more popular, however, the warm hue of tungsten has never lost its appeal. Tungsten lights get their name from the tungsten filament inside the bulb, which glows bright orange when a current is passed through. The color temperature of tungsten light is usually around 3200K, which we’ll explain in more detail later.
Tungsten lights and other incandescent bulbs are used by photographers because they give off continuous light and can be adjusted in real-time. They allow you to see shadows and colors, and make adjustments to your scene. Indoor tungsten lighting can pose a problem given the heat these light bulbs emit when turned on. The tungsten filament inside reaches high temperatures when used for an extended period of time.
Given the inefficiency of tungsten light bulbs, many households and businesses prefer to use fluorescent lighting or LED’s, as they use much less energy and tend to last longer as well. However, the white color of this lighting can make your subjects look washed out and lifeless, which is why tungsten lights are still used by cinematographers and photographers across the world today.
What is Daylight?
Obviously, daylight is natural light which stems from the sun, however, from the standpoint of a Director of Photography, daylight is a resource that should be used and controlled. If you’re shooting outside during the day, then natural light will provide almost all of the brightness in your images. Daylight also comes into play when shining through studio windows, and refers to any ambient light not produced by electricity. Daylight has a color temperature of between 5400 and 5600 K, a much cooler hue than the result we get when using tungsten.
One very inconvenient attribute of daylight is that it’s uncontrollable, and changes constantly. There’s no way to turn the sun up or down as you can with studio lighting, so instead you have to adjust other elements of your shoot in tune with the sun. Weather also has a huge impact on the brightness and color of light from the sun, and this can be to your advantage or demise. Using daylight can also cause some continuity problems on a film shoot, as the sun won’t emit the same light day to day. Daylight is broken down into several main periods when the sun gives off certain shades and different types of light.
- Blue Hour: In the time just before sunrise and just after sunset, a low level of ambient light is given off naturally by the sun. Usually, it’s just enough to give the sky a pale blue color, and the hue of the light in any shots from this time will be blue-toned.
- Golden Hour: A favorite amongst both Instagram photographers and professionals, golden hour happens in the hour just after sunrise, and just before sunset. Daylight as this time has a beautiful warm and golden tone, shadows are soft, and images have great depth.
- Mid-morning and afternoon: All the time between golden hour and midday can be characterized as having normal daytime light levels. This natural light makes colors clear and true, while shadows darker and more definitive. The most bright and colorful scenes are always shot best in pure daylight.
- Midday: When the sun is at its peak in the sky, a cinematographer's job is hardest. The bright and harsh light creates dark shadows everywhere, so achieving even and flattering light on your subjects can be difficult. At this time of day, other lights are often used to soften shadows, such as a tungsten key light.

Color Temperature in Cinematography
Color temperature is an often misunderstood but vital element in the final outcome of your shot. It has a huge impact on the way color and brightness comes across, so it’s important to get it right. Like measuring light in ratios, setting your color temperature is a skill every cinematographer should learn. Take the time to learn about proper white balance and color grading your shots, and achieving the correct end result is easy. Get it wrong, and your whole shoot could have to be redone.
When setting your color temperature, it’s the whites you need to pay attention to. If a white surface is white in your recorded images, then the other colors should appear correctly as well. However, white surfaces can easily reflect a slightly blue light of a cloudy day or an orange tint from the setting sun. Our eyes adjust automatically to allow us to see the surface as white, however, a camera will not. You can use a color temperature chart to accurately measure the warmth of your light.
You need to set your camera white balance (or color temperature) setting according to light conditions and adjust it as the light of the day changes. If you’re recording in any format other than RAW, your camera white balance determines the color of everything recorded permanently. If you make a mistake while filming, it’s very difficult to correct color balance in post-production. This is a huge benefit of recording in a RAW format, as your camera white balance only affects how you see the image in real-time and has no impact on the recorded data. If you record in RAW, then all-white balance and color temperature levels are set during post.
Setting Your White Balance to Mixture of Tungsten and Daylight
Most cameras have an automatic light balance setting, however, it’s imperative to use a manual white balance when mixing light sources. Set your white balance according to your strongest light source, which in this case is either tungsten or daylight. Most instances using this combination feature daylight as the primary source of brightness, so you can set your balance focused on that. As we went over earlier, there are several different types and colors of daylight, so make sure you take this into account.
One simple way to ensure that your tungsten lighting doesn’t clash with the natural light is to use a blue gel over the tungsten light. This will alter the color of your tungsten bulb to more accurately match the daylight in your image. You should be able to monitor the results of your efforts through your camera, don’t be afraid to keep making adjustments until the image looks perfect. Reposition your subject, change the angle of your studio lights to get the result you desire, and always make sure that whether it’s 95Wh or 190Wh lithium-ion batteries, you’ve always got some backup batteries for your lighting equipment.

How to Mix Tungsten and Daylight to Create Depth in Your Image
Using color to create depth is a simple but very effective technique, one that translates beautifully to the screen. If a window is the source of your daylight, try positioning so that it’s slightly to one side behind your subject. If the natural light isn’t bright enough, you can add an LED to give more blue-tinted light to the scene. Then, use tungsten to light your subject from the front, or from the opposite side as the window. This will result in a warmly lit subject with a blue-white background, a highly effective image overall, perfect for both portrait photography and film.
Another way to use tungsten and daylight in the same image, without worrying about color differences, is to simply use a source of light that will appear on film. Sure, the colors will look different, but if the viewer can see both a window and a table lamp, for example, then the difference in color warmth isn’t a problem. This goes for any everyday light source which will make your lighting seem more believable; a street lamp, a candle, even a TV screen.
Learning How to Mix Tungsten and Daylight Pays Off
Mixing tungsten with daylight can be a challenging but very rewarding way to light your scenes. There some fantastic effects to be achieved with this combination, and the most important thing you need to remember is to white balance your camera every time the light changes. Remember, our eyes will adjust automatically to show a white image no matter what, however, cameras need to be manually set in order to result in a satisfactory image. Get your white balance right, ensure your lighting gear is powered properly, and the rest will follow.
If you are looking to take your photos up a notch, shooting during the golden hour can make a big difference to your outdoor photography. Here's another resource on golden hour photography to read.
Comments
Leave a comment